Cancel Netflix—Your Guide to Unsubscribing With Ease
With a market cap of $213.04 billion as of January 2024, Netflix is undeniably one of the biggest streaming platforms in the world. The company has over 247.15 million subscribers as of Q3 2023, providing access to binge-worthy TV shows, movies, documentaries, and more. However, some users may want to move on from the platform due to different reasons, such as the cost of the subscription or a desire to try out a different streaming service.
If you are also looking to cancel your Netflix subscription, read this comprehensive guide. It will detail the exact steps you need to complete whether you signed up through the website or mobile device. You will also learn how to prevent unexpected charges from subscription companies.
Note that the information in this article is current as of January 2025. Visit the official Netflix website or contact its customer support team for any updates.
How To Cancel Your Netflix Subscription on the Website
You can cancel your Netflix account on the company's official website by completing these steps:
- Log in to your Netflix account.
- Navigate to the top-right corner of the page and click the down-pointing arrow.
- Select Account from the menu and click the Cancel Membership button under the Membership & Billing section.
- Select Finish Cancellation to confirm.
Once you complete the above steps, you will receive a confirmation email from Netflix. Note that you can still access your Netflix account and its content until your current billing period ends.
How To Cancel a Netflix Account On Mobile Devices
Canceling Netflix on mobile devices depends on the operating system of your device. The following section provides the steps you need to follow to cancel your Netflix account on a phone.
How To Cancel Your Netflix Subscription On iPhone and iPad
If you have bought the subscription via the Netflix app on your iOS device, your account is linked to your Apple ID, so you will need to end your subscription through the Apple ID settings. Here’s how to stop a Netflix subscription on iPhone or iPad:
- Open the Settings app on your iOS device.
- Tap your name at the top of the screen.
- Select Subscriptions in the Apple ID menu that appears.
- Tap on Netflix and select Cancel Subscription.
- Follow the prompts to confirm your cancellation.
You can keep enjoying Netflix’s content until the end of your billing cycle, and automatic payments will stop after your current billing cycle ends. Make sure to check your email for a confirmation of the cancellation.
How To Cancel Netflix On Android
To cancel a Netflix subscription on an Android device, you will need to cancel it through the Google Play Store by following these steps:
- Open the Google Play Store app on your Android device.
- Tap on your profile icon at the top-right corner of the screen.
- Select Payments & Subscriptions from the menu, then choose Subscriptions.
- Find Netflix from the list of subscriptions and tap on it.
- Select Cancel Subscription and confirm.
How Do I Cancel Netflix On My TV?
You can also discontinue your Netflix subscription directly from your TV if you have signed up using a smart TV or Amazon Fire TV. Here’s how to cancel a Netflix subscription on a TV:
- Navigate to the Netflix app on your TV and log in.
- Click the drop-down menu in the top corner of the screen next to your profile name.
- Select Account from the menu and click Membership & Billing.
- Click Cancel Membership and Finish Cancellation to confirm.
How To Cancel Netflix on Roku
If you’re managing your Netflix account through Roku, the service provides another way to unsubscribe. Here’s how to cancel a Netflix subscription on Roku’s website:
- Visit the Roku website and sign in to your account.
- Select Netflix under your Active subscriptions.
- Click Turn off auto-renew. Doing so will ensure you stop being billed for the subscription in the future while retaining access to the service during your current billing cycle.
Alternatively, see how to unsubscribe from Netflix on a Roku device:
- On your Roku remote, press the home button.
- Using your remote’s arrow buttons, highlight the Netflix app on your home screen.
- Press the star button on your remote.
- Select Manage subscription and then Turn off auto-renew.
How To Cancel Netflix Without Account Info
If you don't remember your Netflix account login details, there are two ways to cancel your subscription:
- Contact Netflix customer support—Call the company's toll-free number at 1-866-579-7172 and explain that you want to cancel your Netflix subscription but don't have the account information. They may ask you to provide your name, email address, and phone number for identity verification.
- Click Forgot password? on the Netflix login page—If you have access to the email account linked with your subscription, you can reset your password and then proceed to cancel your subscription through the website or mobile app.
How Long Can I Watch Netflix After Subscription Ends?
Once you've canceled your Netflix subscription, you can still watch content until the end of your current billing cycle. After canceling your Netflix payment, you’ll lose access to the streaming service on the final day of your subscription. For example, if your billing period ends on the 10th of the month and you cancel your subscription on the 5th, you’ll still have access until the 10th.
How To Cancel a Netflix Subscription and Get a Refund
Unfortunately, Netflix doesn’t offer refunds for canceled subscriptions. There’s no Netflix refund policy, and the company doesn’t provide a prorated refund for any unused portion of a subscription.
To avoid unwanted charges, double-check if you’ve successfully canceled your subscription. Once the cancellation is complete, you should receive a confirmation email from Netflix. If you don’t receive an email, contact Netflix's customer support team for assistance.
Can You Pause Your Netflix Subscription?
Yes—you can pause your Netflix membership if you want to take a break from streaming. When you pause your account, you won't be billed on your next Netflix payment date, and your account will be put on hold for one month. After that, your subscription will automatically resume, and you'll be charged the standard monthly fee.
Here's how to pause your Netflix account:
- Log into your Netflix account.
- Navigate to the Cancel Membership page.
- Select Pause for 1 Month.
- Follow the prompts to confirm your request.
If you want a longer pause, you can extend the account pause for an additional month. However, the maximum pause duration is three months.
The difference between Netflix pause vs. cancel membership is that when you pause your account, you’ll still have access to it—you won't be able to stream or download content, but you can browse and add titles to your watchlist. Meanwhile, canceling your membership means permanently losing access to your account and its content after the current billing period ends.
What You Should Do if You're Having Trouble Canceling Your Netflix Account
If you encounter any difficulties during the cancellation process, you should contact Netflix customer support for assistance. You can do so via:
- A phone call at 800-585-8131 (calling the Netflix support team through the app is free, but data rates may apply if using cellular data)
- Live chat through the Netflix app or website
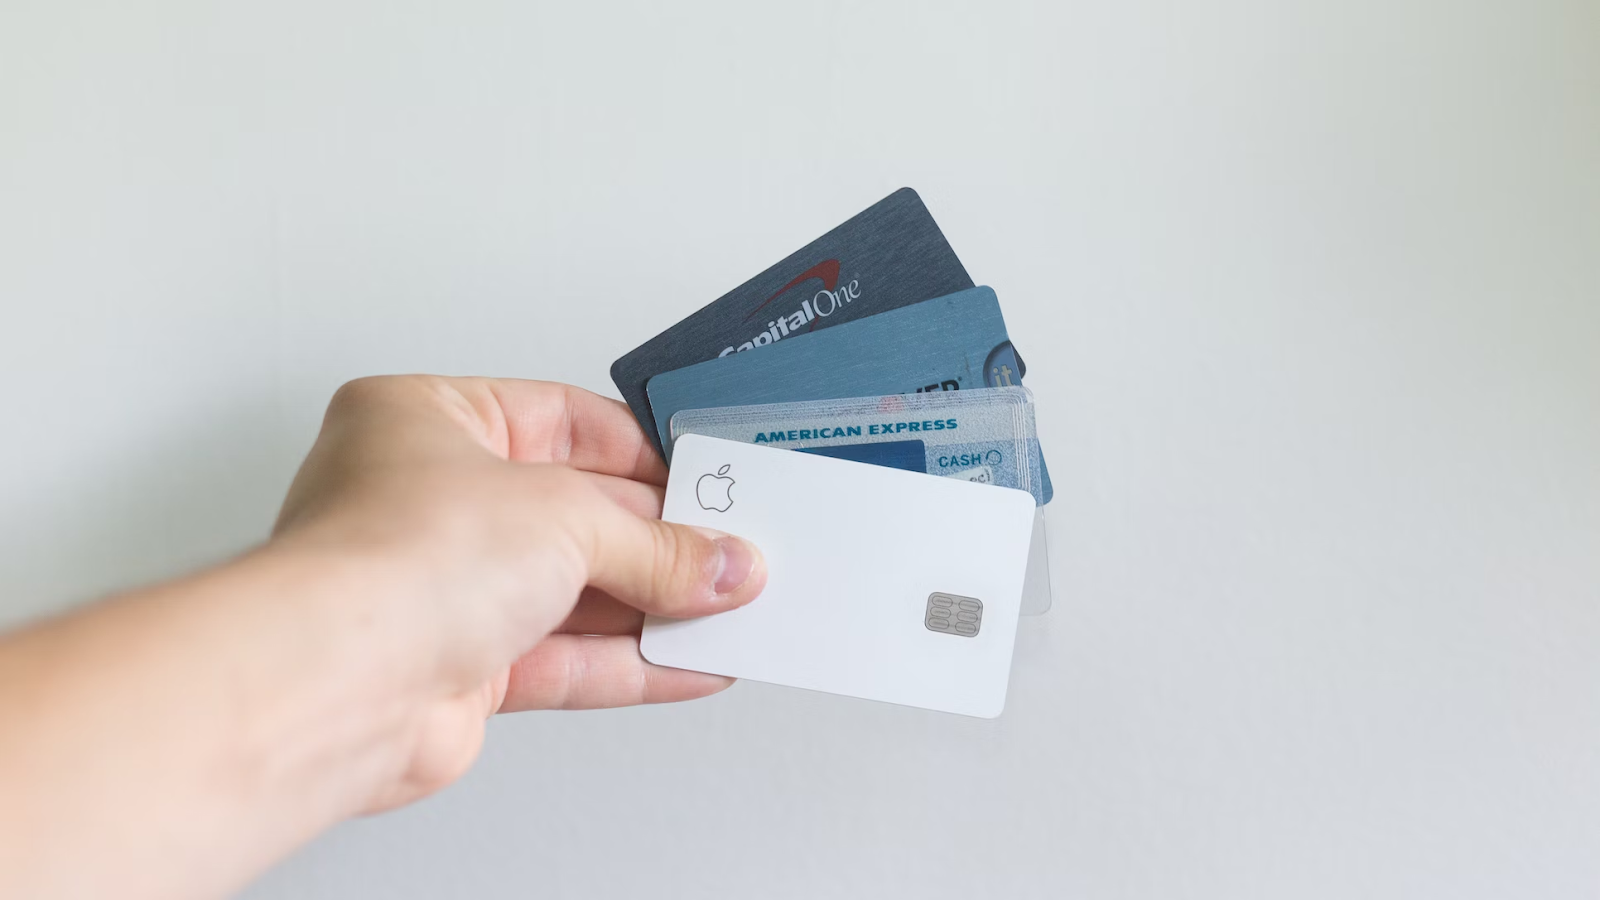
Note that some Trustpilot user reviews claim that the Netflix cancellation process isn't always straightforward. One user claimed that they got charged for ten months without their knowledge even after canceling their subscription. Another Netflix subscriber allegedly had their account reactivated without their knowledge and then got charged for it. Some users claim that they had to go as far as canceling their credit cards to stop Netflix from charging them.
While mistakes are to be expected, some subscription merchants may deliberately use specific tactics to keep you as a paying customer for as long as possible. Their techniques include prolonging the cancellation process or guilt-tripping you into keeping your subscription. If you aren't careful, you might miss an essential step and end up paying another month's fee for a service you don't want.
The most efficient way to protect yourself against overcharges from subscription services is to sign up with a Privacy Virtual Card—be it for another streaming platform like ESPN Plus, YouTube TV, and Hulu or a gym membership service like Planet Fitness. Virtual cards shield your actual financial details with random card numbers at checkout, protecting them from unauthorized charges. Independent virtual card providers like Privacy also provide advanced card controls to help you manage your online spending.

How Privacy Virtual Cards Protect You From Unwanted Subscription Charges
You can link a debit card or bank account to Privacy and generate virtual cards for various purposes. Privacy Cards can be used at most merchants and subscription services that accept U.S Visa® and Mastercard® payments, including Amazon Prime, Peacock, and FuboTV.
You have three types of Privacy Virtual Cards at your disposal, as explained in the following table:
Privacy Cards can be paused or closed without affecting your linked debit card or bank account. This feature is useful when you want to cancel a subscription—it helps you limit unexpected charges while the merchant processes your cancellation request. Privacy will decline all charge attempts on paused or closed cards.
You can also set spending limits on your Privacy Card to block subscription merchants from charging you more than the initially agreed amount. Privacy will decline all charges that exceed the preset limit.
Additional Privacy Features That Streamline Online Transactions
As a Privacy user, you will enjoy the following additional features when shopping online:
- Browser extension—Available for Chrome, Safari, Firefox, and Edge, the extension autofills your virtual card details at checkout, sparing you from memorizing and typing them every time you need to complete a transaction. iPhone and iPad users can enjoy seamless transactions with the Safari iOS browser extension.
- Mobile app—The Privacy mobile app for iOS and Android lets you create and manage your virtual cards on the go. Set up push notifications to receive real-time alerts on your card activity.
- Integration with 1Password—This Privacy integration allows you to manage your passwords and virtual cards from a convenient, centralized dashboard. You can quickly create virtual cards and autofill credentials, all from the 1Password browser extension.
Choose Privacy Virtual Cards for More Convenience and Control
You can start using Privacy Virtual Cards by completing the following steps:
- Create an account
- Fill in the required Know-Your-Customer (KYC) information to verify your identity
- Link a funding source such as your debit card or bank account
- Request and generate virtual cards
Privacy has four monthly plans—Personal, Plus, Pro, and Premium. The table below details the cost of each plan, the number of new cards you can generate, and the benefits you can enjoy:
