How To Cancel Snapchat Plus and Get a Refund
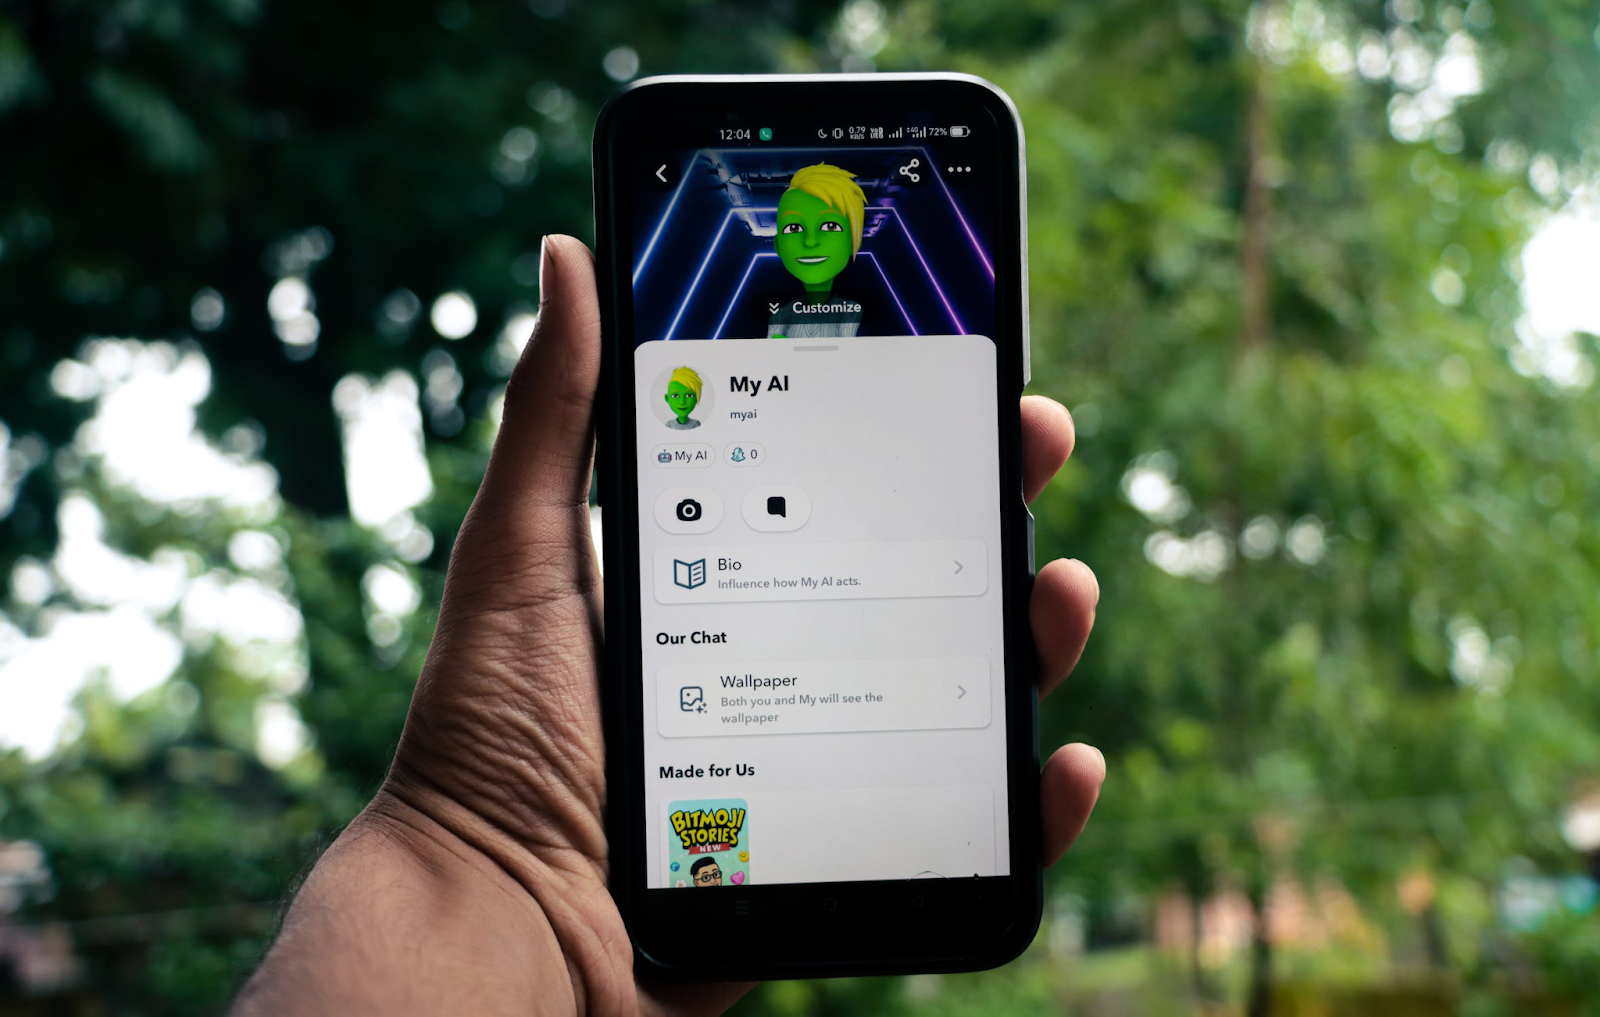
Snapchat Plus is a paid subscription service offered by Snapchat that allows users to access premium features like pin a BFF, priority story replies, and a custom app theme editor. The service has over 7 million subscribers as of 2023, making it a popular choice among Snapchat users.
If you're facing a subscription overload or no longer find the service worth the cost, refer to this guide on how to cancel Snapchat Plus. It will provide all the steps needed to discontinue the service successfully and get a refund. You'll also learn why canceling subscriptions isn't always smooth and how to avoid excessive charges for services you no longer want.
The content in this guide is valid as of January 2025. Please visit the official Snapchat website or get in touch with a customer representative for the most recent information.

How To Cancel a Snapchat Plus Subscription—The Steps
Since Snapchat Plus payments are processed through the app store you used to subscribe, you'll have two options to cancel the service:
In the sections below, learn how to end Snapchat+ on each app store.
How To Cancel Snapchat Plus via the App Store
To cancel a Snapchat Plus subscription on an iPhone, iPad, Mac, or Windows PC, proceed as shown in the table below:
How To Cancel Snapchat+ via Google Play Store
If you're subscribed to Snapchat Plus through Google Play Store on an Android device, refer to the table below for instructions on how to cancel the service:
If you can’t cancel Snapchat+ using this method, make sure you’re logged into the correct Google account. If the issue persists, contact Google’s support team for help with deleting your Snapchat Plus subscription.
How To Cancel Snapchat Plus Free Trial
If you're on a Snapchat Plus free trial, you can cancel it using the same steps you’d follow when canceling a regular Snapchat premium subscription.
Note that if you’re an iOS user and want to cancel the Snapchat Plus trial on an iPhone or iPad, you must do so at least 24 hours before the end of the seven-day trial. If you fail to do so, you’ll become a full subscriber after the trial ends and be charged the subscription fee.
How To Cancel Snapchat Plus Gift
As a Snapchat Plus subscriber, you can purchase a subscription and gift it to another Snapchat user. This allows the recipient access to Snapchat Plus for a limited time, after which their Snapchat Plus won’t renew unless they had an active regular Snapchat Plus subscription when they redeemed their gift.
Since gifted Snapchat Plus subscriptions are one-off purchases, you can’t cancel them or get a refund for them. The person you gift it to doesn’t have to pay for it, but they can’t transfer, sell, or regift it either.
How To Hide Snapchat Plus Badge
The Snapchat Plus badge is a cosmetic feature that allows users to show they have Snapchat Plus. The badge is off by default, but if you’ve turned yours on and want to hide it again so that other users can’t tell you have Snapchat Plus, here are the steps to remove your Snapchat Plus badge:
- Go to your Snapchat profile.
- Tap the Snapchat+ membership card.
- Scroll down to find the Snapchat+ Badge option.
- Toggle the button next to Snapchat+ Badge off.
Once you've turned off the badge, it will no longer be displayed on your profile, and people won’t be able to see you have Snapchat Plus.
If I Cancel My Snapchat Subscription, Will I Get a Refund?
Your Snapchat Plus subscription's billing and management are handled by the app store used to subscribe. As such, all related refund requests should be directed to the respective app store's customer service. The following table outlines the steps to take to request a Snapchat Plus refund from Apple or Google Play Store:
Keep in mind that Snapchat does not offer refunds or pro-rated refunds for canceled subscriptions. As such, any Snapchat refund requests will be subject to the app store's refund policies. Know that you will still have access to the premium features of Snapchat Plus until the last day of your current subscription period. Afterward, you will no longer be charged for the service.
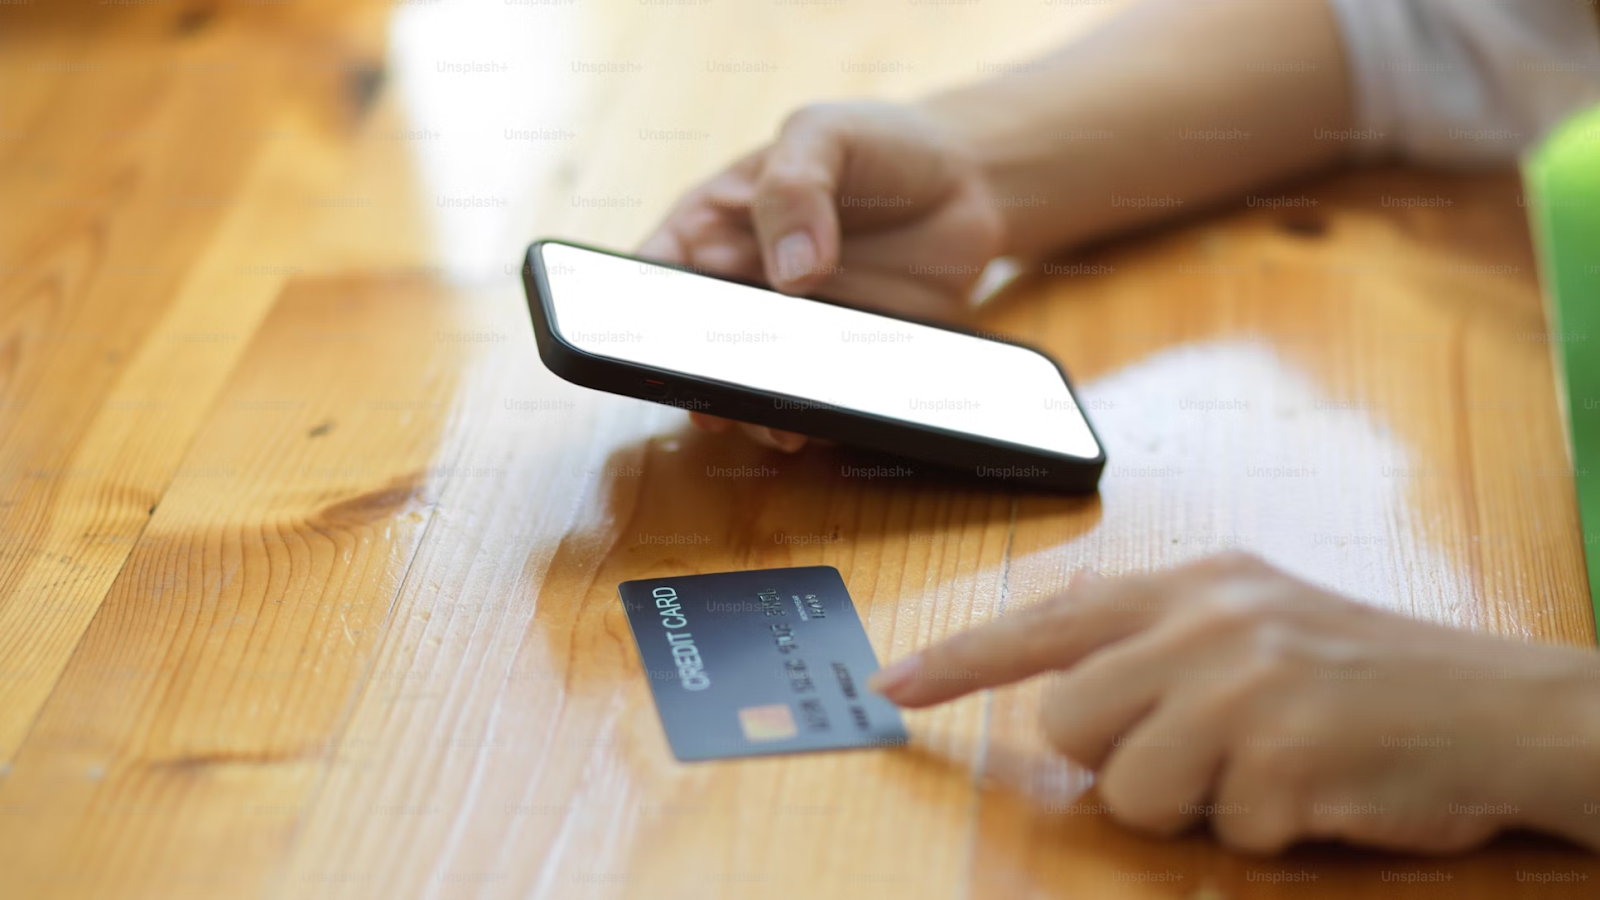
How Virtual Cards Make Subscription Management Effortless
Signing up for a subscription service takes only a few clicks. Unfortunately, canceling them isn't always as straightforward. Some companies may intentionally make the cancellation process challenging by using dark patterns on their website—design techniques that trick you into making unintended decisions.
Some merchants may require you to make a phone call, wait on hold for extended periods, or send a handwritten letter to cancel your subscription. These companies may resort to these tactics to keep you subscribed for longer and prolong your payments. Luckily, there is an effective solution to manage your subscriptions more effortlessly and prevent being overcharged for services you no longer need—virtual cards from Privacy.
When you pay for subscriptions such as Shopify, Dropbox, or Tinder Gold with virtual cards, you replace your actual account details with fake card numbers at checkout, protecting your funds from unexpected charges. If you opt for a comprehensive virtual card provider like Privacy, you will also be able to limit how much a company can charge you.
Privacy Virtual Cards—Unparalleled Financial Control When You Need It Most
You can connect your bank account or debit card to Privacy and request multiple virtual cards for shopping on various merchants and websites, including subscriptions such as PlayStation Plus, Philo, and Amazon Music. Privacy lets you create three types of virtual cards:
- Single-Use Card—It closes automatically a few minutes after completing your first transaction. This makes it perfect for one-time purchases and shopping on unfamiliar websites that you don't plan on visiting again.
- Merchant-Locked Card—It "locks" to the first merchant you transact it with. It's ideal for transactions at your go-to merchants and subscriptions such as the New York Times, the Wall Street Journal, and Adobe.
- Category-Locked Card—It “ties” to a merchant category rather than a single vendor. It’s perfect for shopping in specified categories, such as groceries and travel, and it can help you budget and control spending.
You can also pause or close your Privacy Card when stopping subscriptions to limit unwanted charges. While you still have to go through the company's lengthy cancellation procedure, Privacy will block all transaction attempts on a paused or closed card.
By setting a spending limit on your Privacy Cards, you can prevent overcharges from any company. Privacy will decline all transactions that exceed your specified amount—that includes duplicate charges for the same month and other hidden fees you didn't know about.
Enjoy Efficient Online Payments With Privacy
Signing up for Privacy is straightforward, as you only need to take these four steps:
- Create an account
- Provide the mandatory details to verify your identity
- Link a debit card or bank account
- Request your virtual cards
Privacy also offers a browser extension and mobile app to make your online shopping experience more convenient. The Privacy Browser Extension is available for Chrome, Firefox, Safari, Edge, and Safari iOS for iPhone and iPad users. It autofills your virtual card details at checkout for fast and seamless payments. This eliminates the need to reach for your wallet every time you want to make an online purchase.
After installing the Privacy mobile app on your Android or iOS device, you can generate and manage your virtual cards on the go. You can also enable push notifications for instant alerts when one of your Privacy Virtual Cards has been used or declined.
If you’re a 1Password user, Privacy offers a free integration with the password manager upon signup, allowing you to store and manage your login credentials and virtual cards from a single dashboard. You can quickly create new cards, manage existing ones, and easily autofill your card details—all within the 1Password browser extension.
Privacy offers four plans to choose from. The Personal plan is free for domestic transactions and includes the following benefits:
- Up to 12 virtual cards per month
- Merchant-Locked and Single-Use Cards
- Access to the browser extension and mobile app
- Ability to set spending limits and pause or close cards at any time
If you want more cards per month (up to 60 a month) and additional benefits such as fee-free international transactions, Category-Locked Cards, Priority support, and card sharing, upgrade to Plus ($5/month), Pro ($10/month), or Premium ($25/month).
